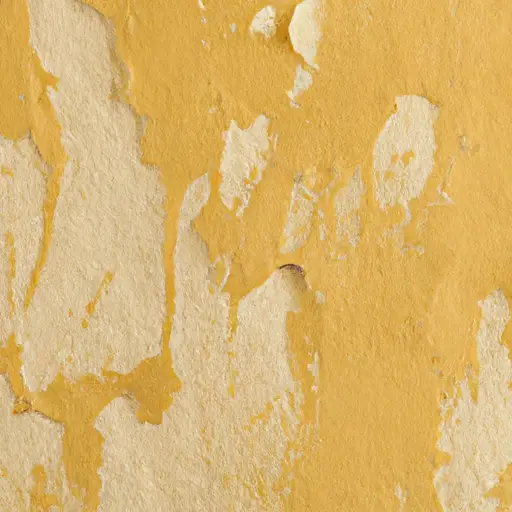
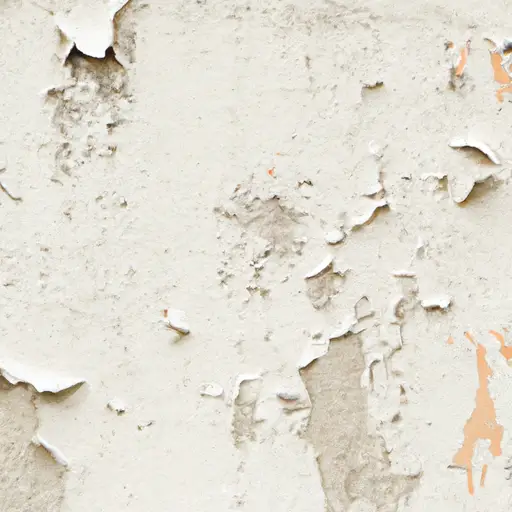
Hello there! We’ve all been there – dealing with peeled paint can be quite frustrating. Whether it’s on a wall, furniture, or any other surface, we understand the struggle of wanting to restore that smooth, flawless look. But worry not, because we’re here to help! In this article, we’ll share some effective tips and techniques on how to fix peeled paint.
Wondering How To Fix Peeled Paint?
Curious to know how? Well, you’re just a few paragraphs away from finding out! We’ll walk you through step by step, providing you with practical advice and useful insights. From assessing the damage to preparing the surface and applying the right fix, we’ll cover it all. So, if you’re tired of those unsightly paint flakes and want to restore the beauty of your surroundings, keep reading. We’ll ensure you have all the necessary tools and knowledge to tackle this issue head-on!


Table of Contents
Understanding Peeled Paint
Peeled paint refers to the condition where the topmost layer of paint on a surface begins to detach from the underlying layers, resulting in flaking or peeling. This can be a frustrating problem for homeowners, as it not only detracts from the aesthetic appeal of a space but also exposes the surface to potential damage. Understanding the causes and impact of peeled paint is crucial in order to address the issue effectively.
What is peeled paint?
Peeled paint is a common problem that occurs when the adhesion between layers of paint and the surface they are applied to is compromised. This can result in the topmost layer of paint separating from the surface, leading to visible flakes or peels. Peeled paint can occur on various surfaces, including walls, ceilings, furniture, and even exterior facades.
Causes of peeled paint
There are several factors that can contribute to the peeling of paint:
- Moisture and humidity: Excessive moisture or exposure to humidity can cause the paint to lose adhesion and peel off. This is particularly common in areas such as bathrooms and kitchens, where the presence of moisture is higher.
- Poor surface preparation: Inadequate surface preparation before painting can prevent proper adhesion of the paint and increase the likelihood of peeling. Surfaces need to be cleaned, sanded, and primed thoroughly to ensure good paint adhesion.
- Temperature fluctuations: Extreme temperature variations can cause the expansion and contraction of surfaces, leading to paint peeling. This is particularly common in exterior surfaces exposed to direct sunlight or extreme weather conditions.
- Low-quality materials: Using low-quality paint or primer can result in poor adhesion and increased vulnerability to peeling. Investing in high-quality materials can help prevent the issue.
Understanding the impact of peeled paint
Peeled paint not only affects the visual appeal of a space but also has practical implications. When paint peels, the underlying surface is exposed to potential damage, including moisture penetration, mold growth, and structural deterioration. Peeling paint can also reduce the lifespan of the surface, requiring more frequent maintenance and repainting. Therefore, addressing peeled paint in a timely manner is crucial to maintain the integrity and aesthetics of painted surfaces.
Preparation for Paint Repair
Before attempting to fix peeled paint, it is important to gather the necessary tools and materials. Here is a step-by-step guide to help you prepare for the repair process:
Gathering the necessary tools and materials
To repair peeled paint, you will need the following tools and materials:
- Paint scraper or putty knife: Used to scrape off loose or peeling paint.
- Sandpaper or sanding block: Used to smooth the surface and prepare it for painting.
- Spackling paste or wood filler: Used to fill in any gaps or holes in the surface.
- Primer: Ensures proper adhesion of the new paint to the surface.
- Paintbrushes: Used to apply primer and paint.
- Paint: Matches the color of the existing paint or can be chosen for a new look.
Cleaning the peeled area
Before repairing peeled paint, it is crucial to clean the affected area. This can be done using a mild detergent or soap and water solution. Gently scrub the area with a sponge or cloth to remove any dirt, grease, or loose paint particles. Rinse the area thoroughly and allow it to dry completely before proceeding to the next step.
Sandpapering the surface
Once the area is clean and dry, use sandpaper or a sanding block to smooth the affected surface. This helps remove any rough edges, old paint remnants, or imperfections that could hinder the proper adhesion of new paint. Sand in a circular motion or back and forth, depending on the surface, until it feels smooth to the touch.
Applying primer
Applying a primer is essential to ensure good paint adhesion and long-lasting results. Choose a primer that is compatible with the type of surface being painted and follow the manufacturer’s instructions for application. Using a paintbrush, apply a thin, even layer of primer over the peeled area, extending slightly beyond the damaged section. Allow the primer to dry completely before proceeding to the next step.
Repairing Small Peeled Areas
For smaller peeled areas, the following steps can be taken to effectively repair and restore the surface:
Scraping off loose paint
Using a paint scraper or putty knife, gently scrape off any loose or peeling paint from the affected area. Be careful not to damage the surrounding surfaces. Ensure that all loose paint particles are removed to create a smooth foundation for the repair process.
Applying spackling paste
Once the loose paint has been removed, apply a thin layer of spackling paste or wood filler to fill in any gaps or holes in the surface. Use a putty knife to smooth the paste evenly over the repaired area. Allow the paste to dry completely according to the manufacturer’s instructions.
Sanding the repaired area
Once the spackling paste has dried, use sandpaper or a sanding block to gently sand the repaired area. The goal is to create a smooth and seamless transition between the repaired section and the surrounding surface. Remove any excess spackling paste or bumps to achieve a uniform appearance.
Painting the patch
After sanding, the patched area should be primed before painting. Apply a thin, even layer of primer to the repaired area and allow it to dry completely. Once the primer is dry, apply the paint using a paintbrush, blending it into the surrounding area for a seamless finish. Apply multiple coats if necessary, allowing each coat to dry before applying the next.


Repairing Large Peeled Areas
For more extensive peeling, where a larger portion of the painted surface is affected, a different approach is required. Follow these steps to effectively repair large peeled areas:
Removing the old paint
Using a paint scraper or putty knife, carefully remove all loose or peeling paint from the affected area. Continue until you reach a point where the paint adhesion is strong. Take care to avoid damaging the underlying surface during this process.
Repairing any underlying damage
Once the old paint has been removed, inspect the surface for any underlying damage. This could include cracks, holes, or other imperfections that need to be repaired before painting. Use a spackling paste or wood filler to fill in these areas, following the manufacturer’s instructions. Allow the repaired surface to dry and then sand it smooth to create an even surface.
Applying new primer
Before repainting the repaired area, apply a new coat of primer to ensure good adhesion. Use a paintbrush to apply a thin, even layer of primer, extending slightly beyond the repaired section. Allow the primer to dry completely before proceeding to the next step.
Repainting the entire section
To achieve a seamless and uniform appearance, it is recommended to repaint the entire section rather than just the repaired area. Choose a paint color that matches the existing paint or consider repainting the entire surface for a fresh look. Apply multiple coats of paint as needed, allowing each coat to dry before applying the next.
Dealing with Blistered Paint
Blistered paint is another common issue that homeowners may encounter. Blistering occurs when the top layer of paint bubbles and swells, causing a raised area on the surface. Here are the steps to address blistered paint:
Identifying blistered paint
Blistered paint can be identified as raised bubbles or swellings on the painted surface. These bubbles may be small or large, resembling blisters. Carefully inspect the surface to determine the extent of the blistering.
Scraping off blistered areas
Using a paint scraper or putty knife, gently scrape off the blistered areas of the paint. Be cautious not to damage the underlying surface. Removing the blistered paint will create a smooth foundation for repair.
Sanding the surface
Once the blistered paint has been removed, use sandpaper or a sanding block to smooth the surface. This helps to create an even and uniform foundation for the subsequent layers of primer and paint. Remove any rough edges or imperfections.
Applying primer and new paint
After sanding, apply a layer of primer to the affected area. This helps in ensuring good adhesion and prevents future blistering. After the primer has dried, apply a new coat of paint, matching the color of the existing paint or choosing a new color. Apply multiple coats as needed, allowing each coat to dry before applying the next.
Preventing Future Paint Peeling
While it is essential to know how to fix peeled paint, taking preventive measures is equally important to avoid future occurrences. Here are some steps to help prevent paint peeling:
Maintaining proper humidity levels
Excessive humidity can contribute to paint peeling. To prevent this, ensure adequate ventilation in areas prone to high humidity, such as bathrooms and kitchens. Use dehumidifiers if necessary to maintain optimal humidity levels.
Ensuring sufficient ventilation
Proper air circulation helps prevent the buildup of moisture, which can lead to paint peeling. Open windows or use fans to allow fresh air to circulate throughout the space. Avoid placing furniture or objects directly against walls that may block air flow.
Using quality paints and primers
Investing in high-quality paints and primers can significantly reduce the chances of paint peeling. Quality products adhere better to surfaces and have a longer lifespan, resulting in fewer maintenance requirements.
Regularly inspecting and maintaining painted surfaces
Regularly inspect painted surfaces for any signs of peeling, blistering, or damage. Promptly address any issues to prevent them from worsening. Perform routine maintenance, such as cleaning and repainting, when needed, to prolong the life of the painted surfaces.
Hiring Professionals
While DIY paint repairs can be effective for small areas, larger or more complex jobs may require the expertise of a professional painting contractor. Here are some considerations when hiring professionals:
Assessing the complexity of the job
Evaluate the size and complexity of the paint repair job. If the area is large, difficult to access, or requires specialized techniques, it may be best to hire a professional.
Choosing a reliable painting contractor
Research and select a reputable painting contractor with a proven track record. Read reviews, ask for references, and check their credentials to ensure they have the necessary skills and experience.
Getting cost estimates
Obtain cost estimates from multiple contractors to compare prices. The estimates should include labor, materials, and any additional services required.
Understanding the contract terms
Before hiring a professional, review the contract terms carefully. Ensure that all details, such as the scope of work, timeline, payment schedule, and guarantees, are clearly stated and agreed upon.
Safety Considerations
When working with paint and paint removal techniques, it is important to prioritize safety. Here are some safety considerations to keep in mind:
Wearing appropriate personal protective equipment
Always wear the proper personal protective equipment, such as gloves, goggles, and a mask, when handling paint or using paint removal techniques. This helps protect against potential health hazards, such as chemical exposure or dust inhalation.
Working in well-ventilated areas
Ensure that the work area is well-ventilated to reduce exposure to potentially harmful fumes or dust. Open windows or use fans to promote air circulation while working.
Using safe paint removal techniques
When removing old paint, follow safe and approved techniques. Avoid using harsh chemicals or methods that may damage the surface or release harmful substances into the air. Consult product labels and manufacturer guidelines for proper usage.
Common Mistakes to Avoid
Avoiding common mistakes can help ensure a successful paint repair job and prevent future paint peeling:
Skipping surface preparation
Proper surface preparation is crucial for paint adhesion. Skipping or rushing through this step can lead to poor results and increased chances of paint peeling. Take the time to clean, sand, and prime the surface before painting.
Using low-quality materials
Using low-quality paints, primers, or tools may save money initially but can result in a compromised paint job. Invest in high-quality materials to achieve long-lasting and durable results.
Overlooking necessary repairs
Ignoring underlying damage or defects before painting can result in recurring issues, such as paint peeling. Address any cracks, holes, or imperfections before applying primer and paint to ensure a smooth and seamless finish.
Applying paint too thickly
Applying paint too thickly may seem like a time-saving approach, but it can impede adhesion and lead to paint peeling. Follow the manufacturer’s instructions for proper paint application and allow sufficient drying time between coats.
Conclusion
Fixing peeled paint is an important task that can enhance the appearance and durability of painted surfaces. By understanding the causes and impact of peeled paint, homeowners can effectively address the issue and prevent future occurrences. Whether opting for DIY methods or hiring professionals, it is crucial to ensure proper surface preparation, use quality materials, and take necessary safety precautions.
By following the outlined steps and avoiding common mistakes, homeowners can achieve long-lasting and aesthetically pleasing results. Regular maintenance and proper care will help preserve painted surfaces and prevent future paint peeling, ensuring the longevity and beauty of the space.


