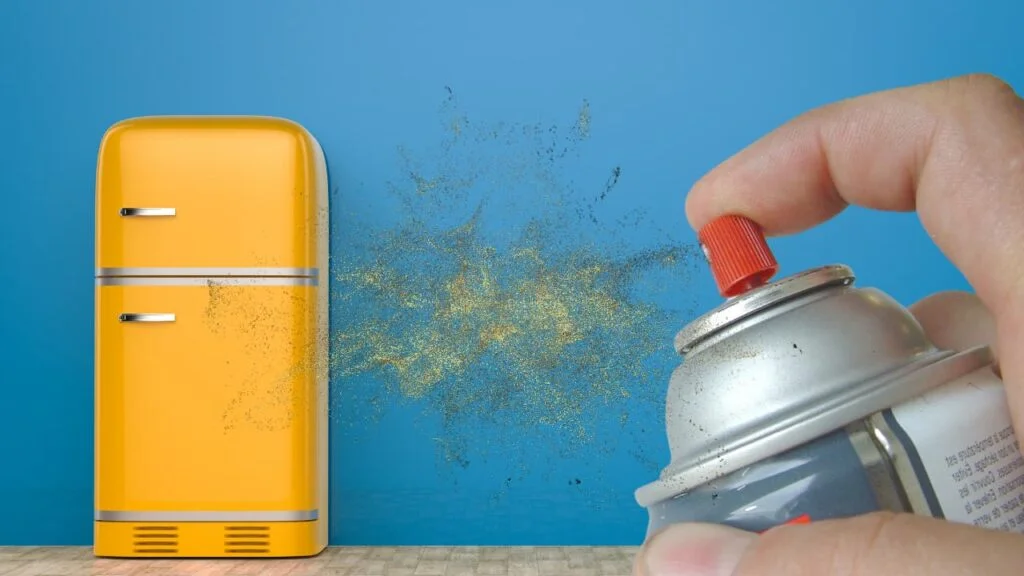
Are you tired of your outdated fridge ruining the aesthetic of your kitchen? Do you want to revamp your kitchen on a budget? Then you might be wondering, can you paint a fridge?
In this blog, we will go over the benefits of painting your fridge, how to prepare the surface for painting, what kind of paint to use, and the steps to follow for painting your fridge. We will also give you tips on maintaining your painted fridge and answer some frequently asked questions that might be on your mind.
So, let’s get started on transforming your kitchen with a fresh coat of paint!
Can You Paint a Fridge? 💭
Yes, you can paint a fridge! It’s an easy way to update the look of your kitchen without having to buy a new appliance.
Start by cleaning the fridge thoroughly and removing any hardware or accessories. Then, sand the surface to create a rough texture that the paint can adhere to. Use a specialized appliance paint for best results, and apply it in thin, even coats with a sprayer or brush.
Allow each layer to dry completely before adding the next one, and ensure proper ventilation during the process. It’s important to follow the manufacturer’s instructions and safety guidelines carefully.
With a little bit of effort, you can achieve a new, customized look for your fridge!

Table of Contents
Benefits of painting your fridge
Giving your fridge a fresh new look is a great way to revamp your kitchen without spending a lot of money.
Painting your fridge allows you to choose any color that matches your decor, giving you complete control over the style dark color, and design of your kitchen. Additionally, painting can prolong the lifespan of your fridge by protecting it from rust or scratches.
Not only is it cost-effective, but painting your fridge is also an easy DIY project that can be done in just a few hours. You can even use magnetic paint to turn your fridge into a message board or photo gallery, adding even more functionality to your kitchen.
With all these benefits, it’s no wonder why painting your fridge is becoming such a popular trend among homeowners looking for a quick and affordable way to upgrade their kitchens.
Preparing the fridge for painting
Before painting your fridge, it’s essential to prepare the surface for maximum adhesion and longevity.
The first step to successfully painting your fridge is to clear the space around your fridge and remove all items from either inside or outside that might hinder the painting process. After that, clean and degrease the fridge thoroughly using mild detergent and warm water. Make sure you rinse the surface with clean water and dry it completely with a soft cloth.
Next, sand the surface of the fridge gently to create a rough texture for the paint to stick to. It’s best to use fine-grit sandpaper so that you don’t damage the fridge’s finish. Once you’ve sanded it down, wipe away any debris with a clean cloth or tack cloth.
After this step, you’re ready to apply a primer coat evenly over the surface before applying a second coat of paint. By following these steps, you’ll ensure that your painted fridge looks great, stays in good condition, and lasts as long as possible.
Clearing the space and removing items from the fridge
When painting your fridge, it’s crucial to clear the space around it and remove all items from the inside. Doing this helps you avoid any accidental spills or splatters on nearby items and ensures a smooth application of paint.
Before you start painting, make sure that you’ve properly cleaned and degreased the fridge to ensure that the paint will adhere properly. Covering any parts of the fridge that you do not want to paint, such as handles or logos, with masking tape or painter’s tape is also recommended.
Cleaning the fridge thoroughly
A clean surface is crucial for successful paint adhesion on your fridge.
Before diving into the painting process, it’s essential to clean and degrease the entire fridge thoroughly. To do this, use a mixture of warm water and dishwashing liquid to wipe down both the interior and exterior surfaces of the fridge with a damp cloth. Using a drop cloth underneath to avoid drips from cleaning or the paint sprayer.
Be sure to rinse the fridge with clean water and dry it completely before proceeding with applying primer coats or paint. Avoid using abrasive cleaners or steel wool as they can scratch the surface of the fridge, causing damage that will prevent paint from sticking properly.
By cleaning the fridge thoroughly beforehand, you’ll ensure that your hard work results in beautiful, long-lasting painted finishes.
Sanding the fridge surface
To achieve a smooth and professional-looking finish when painting your fridge, it’s essential to sand the surface properly. Sanding helps create a smooth surface that is more receptive to paint and allows it to adhere better.
When sanding your fridge, use fine-grit sandpaper to avoid damaging the surface of the appliance. Make sure you clean off any dust or debris after sanding before proceeding with painting.
Sanding helps create small grooves on the surface of your fridge, which allows for better adhesion of the paint. It also helps remove any blemishes or scratches on the surface of a rusty refrigerator, ensuring that the new paint job looks neat and professional.
By taking your time to properly sand your fridge before painting it, you’ll be able to create a beautiful and long-lasting finish on this often-overlooked appliance.
What kind of paint do you use on a refrigerator?

When it comes to painting your fridge, it’s essential to use high-quality paint that is specifically designed for use on appliances. Look for durable and long-lasting paint that can withstand the wear and tear of daily use.
Additionally, choose a color and finish that complements the overall design aesthetic of your kitchen. Properly preparing the surface of the refrigerator by cleaning and sanding it before painting is also crucial to ensure that the paint adheres properly.
Applying the paint in thin coats and allowing each coat to dry completely before adding another layer will result in a professional-looking, glossy finish. For optimal results and safety, consider hiring a professional painter.
Types of paint suitable for a fridge
When it comes to painting a fridge, choosing the right type of paint is essential for achieving a long-lasting and professional-looking result. The most popular types of paint suitable for fridges are epoxy and acrylic paints.
Epoxy paint is heat-resistant and durable, making it an excellent choice for refrigerators. It’s also resistant to chipping and peeling, ensuring the finish lasts longer. Acrylic paint can also be used on refrigerators but may require a clear coat for added protection. Spray paint is another option, but it’s important to choose a brand specifically designed for appliances to ensure adhesion and durability.
Ultimately, the type of refrigerator paint you choose will depend on your personal preference and the level of durability you’re looking for.
Popular colors and finishes for fridge painting
The color and finish options for painting your fridge are endless, giving you the flexibility to choose a look that perfectly complements your kitchen’s aesthetic.
Metallic finishes like stainless steel or copper can add a modern twist to your kitchen, while either matte finishes or glossy finishes in bold colors can create a stunning focal point.
If you’re looking for something more playful, chalkboard paint is a fun and functional option, allowing you to jot down notes, grocery lists, or doodles directly on the fridge surface.
When selecting a top paint color and finish, it’s important to consider both the style of your kitchen and the statement you want to make with your painted fridge.
Steps for painting a fridge
If you’re looking to revamp your kitchen on a budget, painting your old fridge yourself is a great option. However, it’s important to follow the proper steps to ensure a successful outcome.
The first step is to clean the fridge thoroughly with soap and water and a damp cloth, removing all dirt, grime, and grease. Next, sand the surface of the fridge to create an abrasive surface for the paint to adhere to.
Applying a primer before painting can help the paint stick and prevent chipping or peeling. When it comes time to paint, be sure to apply multiple thin coats and let each final coat of paint dry off completely before moving on to the next.
Finally, consider using a sealant or topcoat for added protection against scratches and damage. By following these steps, you can transform your old fridge into a work of art that complements your kitchen decor.
Priming the fridge
To achieve a smooth and even finish when painting your fridge, priming the surface is an essential step. The primer helps the paint adhere to the metal surface of the fridge and creates a durable base for the paint to stick to.
Choosing the right primer is key, as it needs to be suitable for metal surfaces and allow for good adhesion. Applying thin, even coats of primer ensures that your painted fridge will look flawless and last longer.
A high-quality primer will help prevent chipping or peeling of the paint, ensuring that your fridge looks fresh and new for years to come. Don’t skip this step if you want professional-looking results from your DIY fridge painting project!
Applying paint with a roller or spraying it
When it comes to painting a fridge, there are two primary methods for applying paint: using a roller or spraying it. Both methods have their pros and cons, so it’s essential to choose the one that best suits your needs.
Using a roller can provide a smooth finish but may require more than two coats each of paint. On the other hand, spraying the paint can give better coverage in fewer coats but requires more skill and equipment.
Regardless of the method you choose, be sure to apply multiple thin coats of high-quality appliance paint designed specifically for use on metal surfaces. Additionally, consider using a primer before applying the paint to ensure better adhesion and durability.
Painting handles and other details
When painting your fridge, it’s important to pay attention to the small details such as the fridge handles, logos, or buttons. These elements can make all the difference in achieving a cohesive look with your kitchen décor.
Before painting these areas, make sure to clean and sand them properly so that the paint adheres well. You’ll also want to protect any areas you don’t want to paint, such as markings or knobs, by using painters tape.
Finally, choose a high-quality appliance paint that complements your kitchen style and color scheme for a polished look. By taking the time to attend to these details, you’ll have a beautifully painted fridge that looks like new without breaking the bank.
Tips for maintaining a painted fridge
Maintaining a painted fridge is crucial to ensure its longevity and continued aesthetic appeal. Using high-quality, durable paint designed specifically for appliances is the first step in maintaining your painted fridge.
Before cleaning, make sure to allow the paint to cure for at least a week to ensure it has fully dried and hardened. When cleaning, use a soft cloth or sponge with mild soap and water to avoid scratching or damaging the painted surface.
Additionally, avoid using abrasive materials such as steel wool or harsh chemicals that could strip the paint of its finish. By following these tips, you can keep your painted fridge looking fresh and new for years to come.
Frequently asked questions about painting fridges
When it comes to painting a fridge, there are many questions that may arise. One of the most common questions is what type of paint to use. It is important to use high-quality appliance paint that is specifically designed for refrigerators.
Another question that may come up is how to properly prepare the surface for painting. This involves cleaning the fridge thoroughly and sanding any areas that will be painted to ensure proper adhesion.
Other frequently asked questions include whether it is safe to paint the inside of the fridge and how long it takes for the paint to dry and cure. By addressing these concerns, you can confidently embark on your kitchen revamp project!
Frequently Asked Questions
Can you spray paint the outside of a refrigerator?
Yes, it is possible to spray paint the outside of a refrigerator. However, it is important to clean and prepare the surface for spray paint properly before painting. Make sure to use high-quality spray paint that is specifically made for metal surfaces.
Allow the paint to dry completely before using the refrigerator to avoid any potential damage or peeling of the paint. With proper preparation and materials to paint a refrigerator, you can transform the look of your fridge with a fresh coat of paint.
What Materials and tools you will need to paint your fridge?
To successfully paint a fridge, you will need a primer, paint, a clear coat spray enamel sealant, a foam roller, and a microfiber cloth that is specifically designed for appliance painting. You may also need sandpaper or a degreaser to prepare the surface of the fridge for painting. A high-quality paintbrush or spray painter can be used to apply the paint and clear coat.
It’s important to work in a well-ventilated area and follow all manufacturer instructions carefully to ensure the best results. With these materials and tools, you can give your fridge a fresh new look.
Conclusion
Painting your fridge is an inexpensive way to revamp your kitchen and give it a fresh new look. Not only does it save you money, but it also allows you to customize the color and finish to match your decor.
However, preparing the fridge is crucial for a smooth painting process. Remember to clear the space, wipe clean down all the surfaces and fridge thoroughly, and lightly sand down the surface for better adhesion.
Choosing the right type of refrigerator paint, is also essential for long-lasting results. You can opt for appliance epoxy or chalkboard paint depending on your preference. To ensure that your painted fridge looks good as new for years to come, follow our tips on maintaining a painted fridge.
Still, have questions about painting fridges? Check out our FAQ section for more information.

