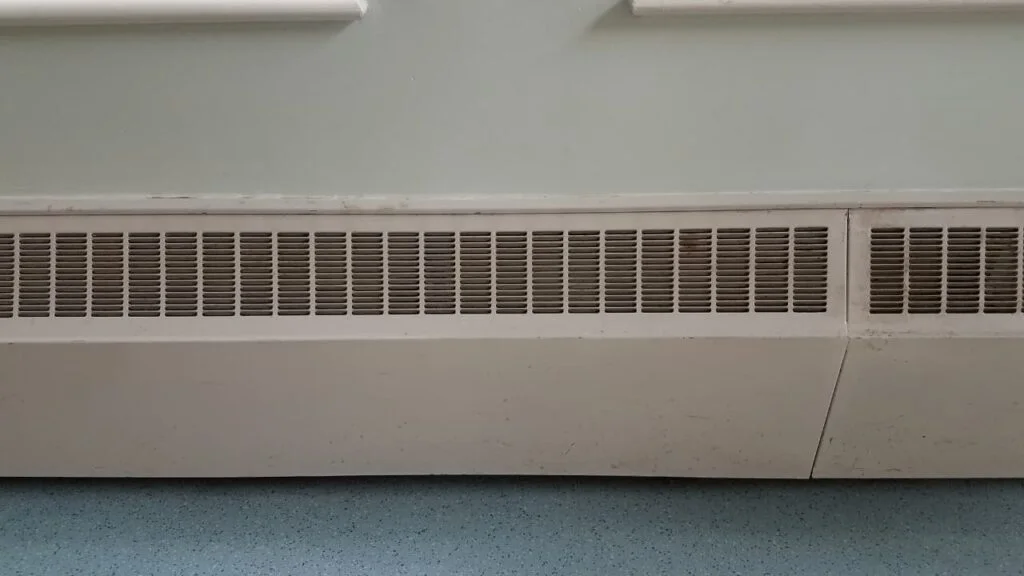
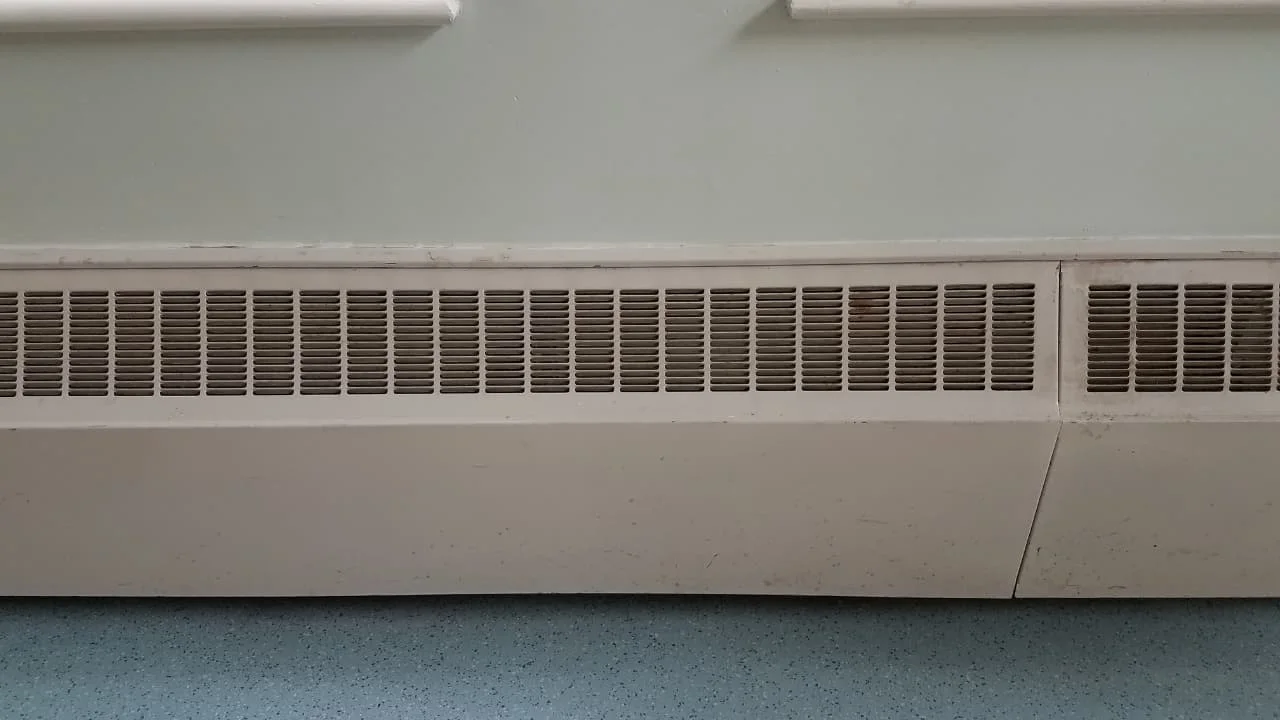
Baseboard heating is a common feature in homes, but let’s be honest – those old metal covers are not exactly stylish. They can clash with your decor and make a room feel dated. But before you rip them out and start over, consider a more budget-friendly option: baseboard heat cover replacement. Not only will it give your space an instant facelift, but it’s also easy to do yourself with the right tools and a little know-how. In this article, we’ll explore some impressive baseboard heat cover replacement solutions that will have you loving your home’s heating system in no time!
Table of Contents
Preparing To Replace Your Baseboard Heat Cover
If you’re looking to give your room a stylish upgrade, replacing your baseboard heat cover is an easy and affordable option. Before you get started, it’s important to gather the necessary materials, measure the old cover, and select a replacement that fits your needs. Here are some tips for preparing to replace your baseboard heat cover.

1. Gather the Necessary Materials
Before you start replacing your baseboard heat cover, make sure you have all the necessary materials. Here’s a list of items you’ll need:
- Tape measure: to accurately measure the length and width of the existing baseboard
- Replacement baseboard cover: select a cover that matches the dimensions and style of your existing baseboard heater. You can choose from different materials like wood, metal, or plastic.
- Copper pipe bends: these are required if there are any corners in your existing baseboard
- End caps: to cap off each end of the new cover
- Screwdriver set: to remove the old cover and install the new one
- Sandpaper: to smooth out any rough edges on the replacement cover
- Paint (optional): if you want to paint or restore an old rusty baseboard
Make sure to gather all these items before starting with your project as it will save time and ensure a smoother installation process.
2. Measure the Baseboard Heat Cover
Before you start shopping for a new baseboard heat cover, it’s important to measure the existing one correctly.
Measure the length of the old cover from end cap to end cap. If your heater has an outside corner, measure from that corner to the opposite end cap.
Next, measure the height of the old cover from where it sits on the floor or mounting bracket up to where it meets the wall. Make sure to account for any vent openings or panels that may be present.
Finally, measure the depth of your existing baseboard heater from front to back. This will help ensure that your new cover will fit snugly over your heater without leaving any gaps.
Keep these measurements in mind as you shop for a replacement baseboard heat cover. Many retailers offer covers in standard sizes to match common baseboard heaters, but if you have an unusual size or shape, you may need a custom solution like wood covers with copper pipe bends combined with stylish end caps and corners.
Remember: accurate measurements are key when replacing your old baseboard heat covers!
3. Select a Replacement Baseboard Heat Cover
When selecting a replacement baseboard heat cover, you want to make sure it will fit your existing baseboard and match the decor of your room. Here are some things to consider:
- Material: There are many materials available for baseboard covers, including wood, metal, and plastic. Wood covers can create a stylish look but may be more difficult to install. Metal covers are durable but can rust over time. Plastic covers are lightweight but may not look as nice as other materials.
- Length and width: Make sure you measure the length and width of your existing baseboard before selecting a new cover. You want to ensure that you get the right size so that it fits properly.
- Style: Consider the style of your room when choosing a cover. If you have modern decor, you may want to choose a sleek metal cover. If you have rustic decor, you may prefer a wooden cover.
- Ventilation: Your new baseboard heat cover should allow for proper ventilation so that hot air can circulate throughout the room.
One option is to purchase pre-made replacement covers that are designed to fit standard baseboards. Another option is to have custom covers made specifically for your existing baseboards.
No matter which option you choose, make sure that they come with end caps and outside corners if needed. This will help give them an extra neat finish while making sure everything looks combined perfectly without any risk or damage caused during the installation process!
Step-By-Step Guide to Replacing a Baseboard Heat Cover
If you’re ready to upgrade your baseboard heat cover, a step-by-step guide can make the process much easier. Here’s how to replace your old baseboard heat cover with a stylish new one in just a few simple steps.
Step 1: Shut off the Power to the Heater
Before you start replacing your baseboard heat cover, it is crucial to ensure that the power source to the heater is turned off. This will safeguard you from any electrical hazards or accidents during the installation process.
To shut off the power to your electric baseboard heater, turn off the circuit breaker switch in your home’s electrical panel. For hydronic baseboard heat, turn off both supply and return valves located at either end of the heating unit.
Once you have confirmed that there is no power going to your heater, it’s safe to proceed with removing the old cover.
Remember, safety always comes first!
Step 2: Remove the Old Cover
Before installing a new baseboard cover, you need to remove the old one. Here are some steps to help with this process:
- First, shut off the power to the heater by turning off the circuit breaker or removing the fuses.
- Next, remove any end caps or outside corners on the old cover by unscrewing them and gently pulling them away from the wall.
- Carefully lift up one end of the old cover and slide it out of place along the wall until it’s completely removed.
- If your existing baseboard has copper pipe bends, make sure they’re in good condition before installing a new cover.
- Inspect your wall for any damage around where your old baseboard was installed; if there’s damage or rust present, you may need to repair or replace portions of drywall before proceeding with the installation.
- Once you’ve removed all panels and vent covers from your current heating system, measure each section’s length accurately so that your new covers will match perfectly in size.
Removing an old baseboard heat cover can be a messy business if not done correctly; ensure that you use protective gear such as gloves and safety glasses when doing so to avoid injury. In addition, always remember that once an old rusty baseboard is removed long hidden dirt could get uncovered therefore ensuring proper cleaning after removal would be beneficial too!
Step 3: Install the New Cover
Once you have your replacement baseboard cover, it’s time to install it. Here are the steps you need to follow:
- First, line up the new cover with the existing baseboard heater.
- If there are any adjustments that need to be made, such as cutting the cover to length or creating bends for copper pipe outside corners and end caps, do those now.
- Once everything is lined up perfectly, slide the new cover over the old one.
- Secure it in place by using screws or clips provided with the new covers if applicable.
If you’re replacing a wood baseboard heat cover with a more modern material like metal or plastic: before installing your new covers make sure that they match not only in width but also the height of panels and vents so that air flows correctly through them; otherwise, you run the risk of uneven heating throughout the room which isn’t good for comfort levels! Also, consider professional installation if needed.
When installing electric baseboard heaters look at wall-mounted thermostats located near floor level on the same wall behind the heater for access when adjusting temperature settings – another important factor is ensuring neat edges around straight corners where pipes meet – this creates a clean finish and reduces rust potential from water damage over time.
To ensure a perfect fit every time measure carefully so that all dimensions are defined including intended access points which may require painted walls installed corner pieces or specific panels/vents used around floor areas where required!
Overall, replacing your old baseboard heater covers can be an easy DIY project by following these simple steps which could add aesthetic appeal to your home decor while keeping you warm during winter months!
Step 4: Make Any Necessary Adjustments
Once you have installed the new baseboard heat cover, it’s important to make any necessary adjustments to ensure a perfect fit. Here are some tips to help you achieve a neat and straight installation:
- Use copper pipe bends for outside corners: If you have an outside corner in your room where the baseboard heat cover needs to be installed, using copper pipe bends can help you create a smooth transition. It will also prevent the cover from sticking out awkwardly and interrupting the flow of your decor.
- Use end caps for old covers: If your existing baseboard has an old cover that is rusted or damaged, consider using end caps instead of replacing the entire unit. This solution will save you time and money while creating a stylish upgrade.
- Match panels with the width of the existing heater: When selecting replacement wood baseboard covers or other materials, choose panels that match the width of your current heater. This will ensure that they fit perfectly on top without any gaps or overhangs.
- Paint before installation: It’s best to paint your new baseboard heat covers before installing them. This way, you won’t risk getting paint on nearby walls or floors during the installation process.
By following these tips, you’ll be able to replace your baseboard heat covers with ease and create a stylish look in your room while ensuring efficient heating for years to come.
Conclusion
Replacing your baseboard heat cover can be a simple and stylish upgrade for any room. By following the steps outlined in this article, you can easily replace your old covers with new ones that match your decor and heating needs.
Remember to measure carefully, select the right material, and consider professional installation if needed. With these tips in mind, you’ll be able to achieve a neat and straight baseboard heater cover replacement that will enhance the overall look of your space.

